
Let’s be real, you send a lot of emails in college. Whether it’s asking a professor for help, requesting a class override, or reaching out about campus stuff, your email says a lot about you. One small detail that can instantly make you look more professional? Your email signature.
Think of it as your virtual name tag that is clean, simple, and packed with the info people actually need to reach you. Setting one up takes five minutes, and trust me, it saves you from typing the same details over and over again.
Why Even Bother with a Signature?
-
It shows you’re serious and professional.
-
Lecturers and staff can quickly find your student ID or phone number without emailing back and forth.
-
It helps people remember who you are.
How to Set It Up in Outlook
-
Open Outlook → Click on the File menu.
-
Go to Options → Then choose Mail.
-
Find “Signatures” → Click it.
-
Make a New Signature → Hit “New” and give it a name.
-
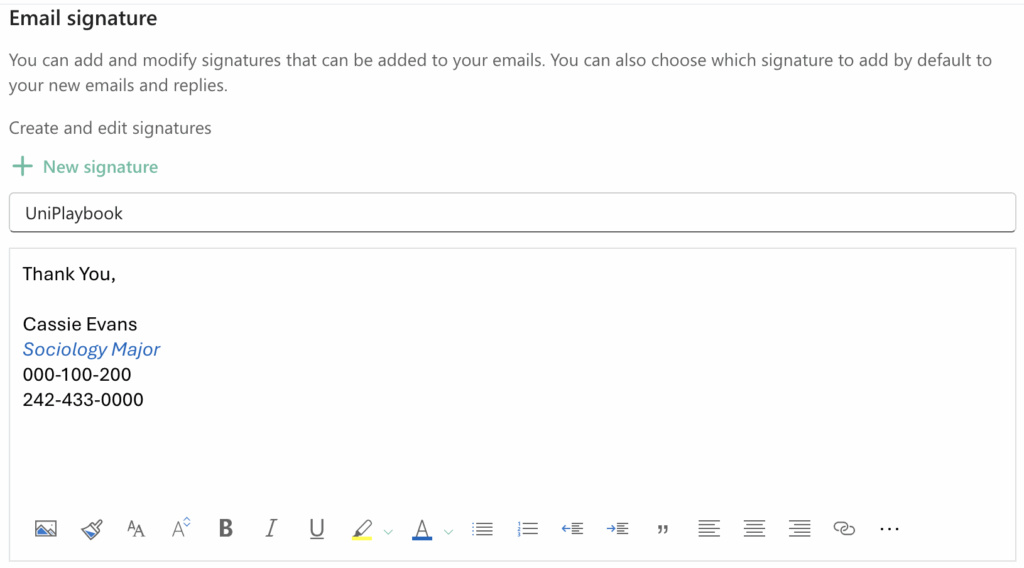
Add Your Info → Include:
-
Full name
-
Major (or position if you have a role)
-
Student ID number
- Telephone number (optional)
-
- Keep It Clean → Stick with a readable font. Bold your name if you want it to pop.
-
Optional Flair → A headshot (photo) of yourself or a short quote works, but don’t overdo it.
-
Set as Default → Apply it to new emails and replies.
-
Save + Done → You’re all set.
Now, every time you draft a new email or reply to one, your signature will automatically populate so the only thing you need to focus on is your inquiry or question that fills the body of your email.
Benefits:
-
Saves time. If your email needs to be forwarded to the school office or another department, your student ID number makes it easier for them to pull up your info right away.
-
Covers you. Sometimes you forget to include your student ID number in the body of the email; therefore, having it in your signature means it’s always there.
-
Adds clarity. A phone number gives lecturers and staff a quick way to call if your email isn’t clear, instead of waiting for back-and-forth replies.